Git hooks are an accommodating solution for organizations that seek to implement consistent policies and procedures across their teams. First and foremost, they enable teams to run custom scripts according to certain Git operations. Building automation into your Git client helps remove the possibility of human error and improves workflows with little effort.
Here we will explore how Husky works with Git hooks in JS projects. First, let’s start with the basics:
What are Git Hooks?
Git hooks are scripts that developers can set to run when certain events occur in the Git lifecycle. There are some popular ways to utilize Git hooks to streamline workflows with automation.
It can be useful for developers to run scripts for custom code tasks and enforce standards with the help of automation because it streamlines operations. Certain stages of a commit, like before and after for example, are a great way to start using Git hooks.
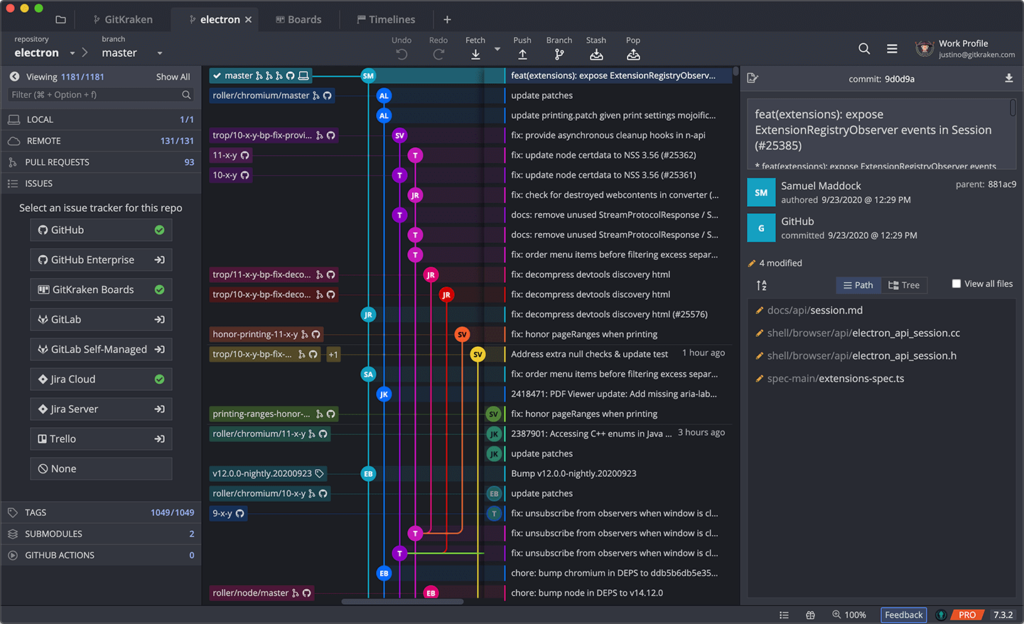
GitKraken Client supports numerous popular Git hooks, including hooks to commit, checkout, merge, rebase, and more.
What is Husky?
Many developers that use Git hooks also use Husky to help manage scripts. Husky is a tool that helps developers work with Git hooks more efficiently and run all the scripts that need to work at various stages.
By simplifying the process of setting up Git hooks, developers can create effective solutions faster. Husky works within the package.json file by including an object that configures Husky to run certain scripts, and then Husky manages the script at specific points in the Git lifecycle.
Installing Husky
If you want to use Git hooks to optimize your projects in this manner, you will need to start by installing Husky. You can do this by entering the following command:
$ npm install husky --save-dev
After Husky has finished installing, then run a command that will allows Git hooks to be enabled:
$ npx husky install
Next, you will want to adjust the package.json file. The last command is run after the installation process concludes:
// package.json
{
"scripts": {
"prepare": "husky install"
}
}
If you receive an error response in your GUI, you must add and set a path to an environment.
The location is different based on which environment you choose. In this instance, we will use asdf-nodejs, so our environment.plist file will look something like this:
<?xml version="1.0" encoding="UTF-8"?>
<!DOCTYPE plist PUBLIC "-//Apple//DTD PLIST 1.0//EN" "http://www.apple.com/DTDs/PropertyList-1.0.dtd">
<plist version="1.0">
<dict>
<key>PATH</key>
<string>/usr/local/bin:/usr/local/sbin:/usr/bin:/usr/sbin:/bin:/sbin:/Users/brunobrito/.asdf/shims</string>
</dict>
</plist>
Now, it’s time to save the file. To do this, restart your Git client, and return to the command line to create a hook.
Creating Git Hooks
While Git hooks can be used to create a number of automations, there are a few hooks that are consistently popular among developers. Let’s learn more about how to validate branch names, linting commit messages, linting code, compressing staged images, and running tests with Husky and Git hooks.
Validating Branch Names with Git Hooks
This is especially handy for ensuring that each branch follows a particular pattern. Validate-branch-name is an npm package. This package comes with pre-set defaults that can be customized if you have knowledge of regex.
Start by installing this package using the following command:
$ npm install validate-branch-name --save-dev
Next, you can utilize a pre-commit hook to get it added to Husky:
$ npx husky add .husky/pre-commit "npx validate-branch-name"
Compressing Images with Git Hooks
Some frameworks render images better than others, and it can be tough to remember to run ImageOptim each time. Fortunately, developers can use a script that will automatically compress images that you add to a project. This example will be for ImageOptim-CLI.
You will start with the installation process using the following command:
$ npm install -g imageoptim-cli
Next, add the imageoptim command to lint-stage because you only want to compress staged files.
// package.json
{
"scripts": {
"prepare": "husky install"
},
"lint-staged": {
"**/*.js": "prettier --write --ignore-unknown",
"**/*": "imageoptim"
},
...
}
Linting Code with Git Hooks
To link code with Git hooks, developers will need to use two node packages: lint-staged and Prettier.
Lint-staged is excellent for running checks across staged files. Afterwards, Prettier is responsible for linting the code.
Start by installing both of the packages using the following commands:
$ npm install lint-staged prettier --save-dev
$ npx husky add .husky/pre-commit "npx lint-staged"
Next, set up lint-staged in the package.json file:
// package.json
{
"scripts": {
"prepare": "husky install"
},
"lint-staged": {
"**/*.js": "prettier --write --ignore-unknown"
},
...
}
Running Tests with Git Hooks
One more simple automation that you can add with Husky and Git hooks to make your life easier is running tests. For this example, we will install Jest, a tool often used by quality control engineers for running tests:
$ npm install --save-dev jest
Then, add a test script to the package.json file:
// package.json
{
"scripts": {
"prepare": "husky install",
"test": "jest"
},
"lint-staged": {
"**/*.js": "prettier --write --ignore-unknown",
"**/*": "imageoptim"
},
...
To finish setting up the automation with Git hooks, you must add the npm test script to the pre-commit hook using the following command:
$ npx husky add .husky/pre-commit "npm test"
Skipping Git Hooks
Automation is important for Git developers for several reasons. For one, built-in automations can help keep your environment safe from intruders. Automations enable teams to easily track commits and ensure that only allowed changes are made in the repository, preventing malicious code from being injected into projects.
Although developers are unlikely to skip a Git hook, skipping hooks is a way of bypassing these automations when code requires a little bit of human TLC.
You can bypass Git hooks with this command:
$ git commit -m "skipping hooks" --no-verify
Now, you can perform tasks manually without the scripts running automatically.
Get Started with Git Hooks and Husky
Getting started with Husky and Git Hooks is a simple process that can save developers unnecessary keystrokes and loads of time.
Git hooks can be configured to create a number of automations to improve workflows and enforce code standards across developers. These are the top five ways that you can get started using Git Hooks and Husky to automate common tasks when working with Git.
You can use GitKraken Client to get started using both Husky and Git hooks with the built-in terminal. Try it for yourself today.
 GitKraken MCP
 GitKraken Insights
 Dev Team Automations
 AI & Security Controls


