Before you can get started with an existing project repository in Git, you will first need to create a local copy of the project on your machine. Here is where the Git clone command comes in.
The Git clone action downloads a copy of an existing remote Git repository to your machine, including all branches. By default, Git will checkout the main branch of the original repo in your new local repository.
GitTip: Get a step-by-step tutorial on how to checkout a remote Git branch.
Why would you want to Git clone a branch? Let’s say you want to immediately start work on a particular branch, so you want to clone the remote and checkout the branch at the same time. Or maybe you don’t need to clone the entire repository because you’re only responsible for one branch, so you want to Git clone the branch only.
Enter Git clone branch.
The Git clone branch command provides two main functions:
- Clones the entire remote repository followed by checking out and setting the upstream to a specific branch.
- Clones just the specified branch followed by checking out and setting the upstream to that branch.
In this Git clone branch example, we’re going to review how to clone a Git branch using the cross-platform GitKraken Git client before we walk through the process in the CLI.
How do you Git clone a branch using GitKraken?
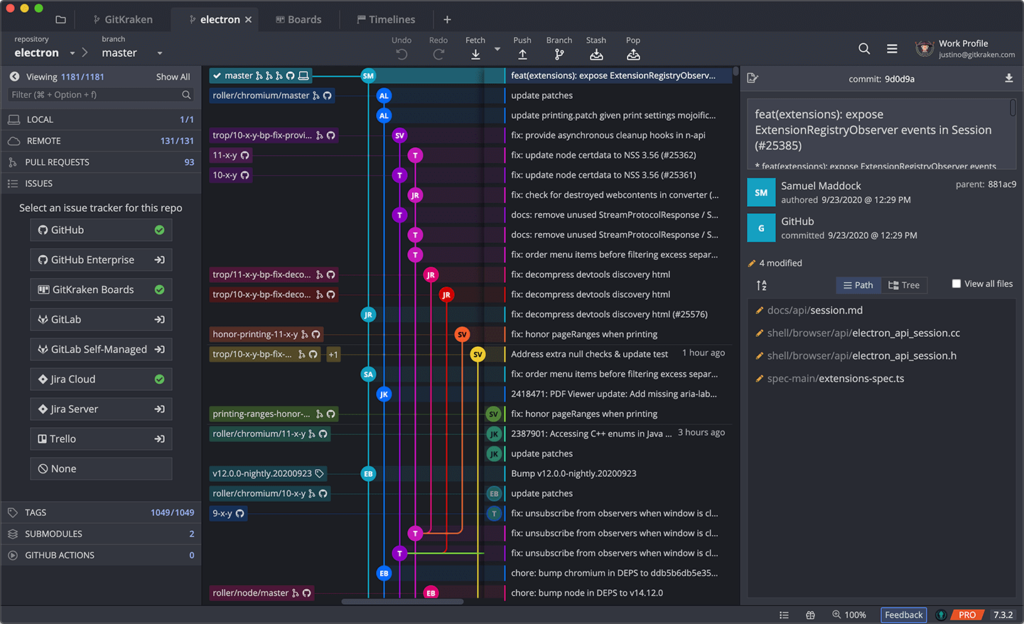
Unlike in the command line, the GitKraken Git GUI provides incredible visibility so you can easily manage your remotes and see exactly what’s happening during the clone process.
How do you Git clone a repository and checkout a specific branch using GitKraken?
You will start by opening a new tab (+) and selecting the Clone a repo option on the left side of the UI.
You can also use the keyboard shortcut: Ctrl/Cmd + O and select Clone. You will then select your integrated remote hosting service: GitHub, GitLab, Bitbucket, or Azure DevOps.
In this Git clone branch example, we’re going to use the Clone with URL option with a remote GitHub repository.
You will want to double-check the following fields before you get started:
- The directory you wish to clone to
- The name of your new local directory
If everything looks correct, you will click Clone the repo! button.
After the repository has been cloned successfully, you can simply double-click the branch you wish to checkout from the left panel.
How much time have you wasted cloning the wrong branch because the CLI didn’t have the visibility you needed? GitKraken will light the way.
How do you Git clone a branch in the command line?
Before you can Git clone a branch using the CLI, you will need two pieces of information:
- The URL where the remote repository is hosted
- The name of the branch you want to clone and checkout
In this Git clone branch example, we will be using a public GitHub repository and will be cloning the Git branch: Development.
How do you Git clone a repository and checkout a specific branch in the command line?
You will start by navigating to the local parent directory where you wish to clone your remote, in this case: /projects.
If you need to make a new local directory, you can use:
mkdir <directory-name>
Next, you will use the Git clone branch command:
git clone --branch <branch-name> <repository-url>
(-b also works in place of --branch here)
If performed correctly, Git will have fetched all branches and immediately checked out the specified branch.
Get the hang of cloning in Git firsthand with our interactive practice repository on GitHub.
How do you Git clone a specific branch in the command line?
If you only wish to Git clone a branch and not the other contents of the remote repository, you will again start by navigating to the local parent directory where you wish to clone your remote.
Next, you will type:
git clone --branch <branch-name> --single-branch <repository-url>
This will only fetch the specific branch from the remote.
Because the CLI lacks the visibility offered by GitKraken, you aren’t able to easily confirm whether you cloned the intended Git branch.
If you wish to verify whether your Git clone branch action has successfully fetched the target branch(es), you can run:
git remote show origin
The Git clone branch command can be a useful tool if you want to save time getting to work on a branch as soon as you clone a repo. Cloning only a Git branch, on the other hand, can help enhance your focus by fetching only the data you need from your remote.
The remote panel on the left of the main UI in GitKraken helps you see exactly which remote branches you have access to so you don’t have to remember a list of branch names, saving you time and mental energy. Simplify common actions, like cloning remotes and branches, with the GitKraken Git client today.
 GitKraken MCP
 GitKraken Insights
 Dev Team Automations
 AI & Security Controls


