For developers, streamlining your workflow while coding in a distraction-free and conducive environment is of utmost importance. This is why most developers go for workspaces that can provide most, if not all, the tools and services they need in one place. Less context switching means minimal distractions, hence, more productivity.
GitLens is a Git extension for VS Code that provides valuable insights into code authorship and unlocks the full power of Git within VS Code. With over 30 million downloads on the VS Code extension marketplace, GitLens promises to be the ultimate tool designed to improve focus, productivity, and collaboration with powerful tools to help you understand, write, and seamlessly review code.
In this article, we will see how to leverage GitLens to streamline workflow while keeping distractions and context switching to the very minimum. If you’d like to check out more ways on how to make the most out of GitLens, you can check out this amazing guide by Dwayne. If you’re just starting out, you should visit the VS Code Marketplace first to install GitLens.
Focus View
Imagine having a summarized list of all your pull requests and issues in one place. Focus view lets you do this, and also lets you perform actions on pull requests, issues, and branches. Bringing only the pull requests and issues that concern you to one place provides a more simplified view, letting you save time because now you can quickly see pull requests created by you, that mention you, are assigned to you, or need your review. Gone are the days of multiple open tabs for every pull request/issue that you’re working on.
For pull requests, you can create or open a worktree or branch using the arrow and folder icon under Actions.
You can also pin and unpin items, move items to the top, and even snooze them based on whatever snooze duration you want. Below are a few issues in Focus View, and the red-boxed highlights show actions you can perform on them.
It is important to note, however, that this feature for now is supported for GitHub repositories only, and so so you would need to connect the GitHub integration.
Commit Graph
Viewing existing branches, merged pull requests, and details about those pull requests have never been easier. GitLens provides a neat commit graph to help developers easily scroll through project evolution and visualize commit history and all details regarding them.
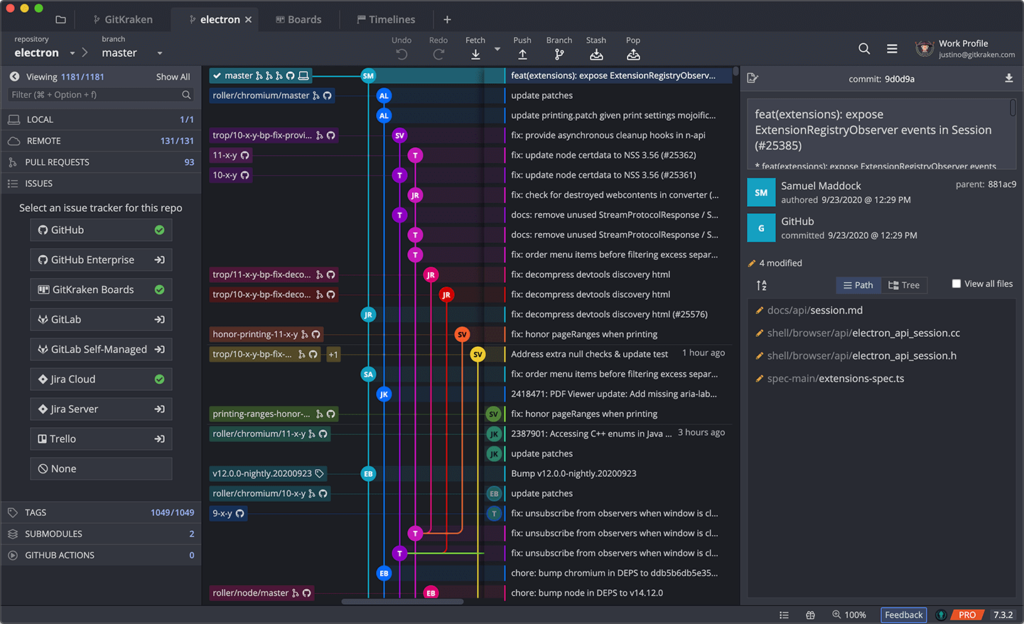
If you’ve been a GitKraken user for a while, then the Commit Graph is no new affair. With GitLens, however, you get to have the Commit Graph right within your IDE, and that already is a way of doubling down on minimal distractions because you don’t have to switch between your VS Code workspace and the GitKraken environment.
When working in teams, it becomes inevitably difficult to manage work between numerous branches. What I love most about the Commit Graph is that it gives you a view of both your local and remote branches and lets you quickly switch between branches, create a pull request from a branch, pull changes to a branch, and much more. The graph also lets you see branches that have commits ahead of and behind the main/master branch, thereby quickly letting you know what branch needs syncing. Without a clear and concise visual representation of all these, working on large and rapidly developing repositories could be a hassle.
To view the GitLens Commit Graph, ensure you’re on the GitLens tab in the left sidebar, and just click Commit Graph from the Home menu.
The commit search feature provides a whole set of settings and configurations to help you adjust preferences and only see what you need on your graph. Like this commit search feature that highlights all matching results across your entire repository when searching for a commit, message, author, or a specific code change.
You also get filter options to let you see all branches, only the current branch, hide remote-only branches, hide stashes, hide tags, and dim merge commit rows.
To see more on the Commit Graph feature and all the rest of what you can do to configure it, you can check out this section of the GitLens features page.
Code Annotations
GitLens automatically shows blame annotations, so by clicking on each line in your code, you’ll see brief details about who made changes to that line of code and in what pull request. If you hover over these details, a card containing even more details pops up. On this card, you can see richer details like the pull request’s author, the date it got merged in, and any other helpful links that could provide more insight about that particular pull request.
By providing when and by whom a line of code was last modified, annotations can help you identify the source of bugs in your code more efficiently and track down relevant changes that may have introduced them.
GitLens allows integration with multiple hosting platforms, and you can see on the details hover that automatic issue linking to Bitbucket, Gerrit, Gitea, GitHub, GitLab, and Azure DevOps is provided in commit messages.
Visual File History
To view and understand the evolution of a particular file, the visual file history comes very much in handy. It presents itself as a graph that shows the weight of changes made to a particular file over some timeframe (which you can always adjust). Larger commits have larger color-coded bubble representations on the graph, and hovering or clicking on a bubble shows you richer details about a commit.
Visualizing a file’s history can help you identify patterns and trends in how a file has evolved. This could also serve as a way of documenting the evolution of files in a codebase, thereby providing insights for future developers working on the project.
You can see the visual file history for whatever file is currently open in your workspace by simply clicking on Visual File History in the Home menu for the GitLens tab, and it should open up in GitLens Inspect. Authors who have contributed changes to the file are on the left y-axis, and their commits over time are displayed over the x-axis.
Changes from Previous Commits
Countless times, we get caught in situations where we mess up the present code and cannot easily go back to the most recent working changes. In this scenario, comparing present to previous changes is always the next best step if you don’t want to do a full revert. GitLens makes this easy by putting up the most previously committed changes against the present version of the file. This is a huge game-changer when it comes to troubleshooting because you can then identify the modifications responsible for why the code is no longer working.
In this state, lines that have changed since the previous commit to the present version of the file are highlighted. When you click on these lines, on the status bar at the bottom, VS Code shows you details like the author of those changes and the pull request through which they were made. You can hover on this to get richer specifics about the change.
AI-Generated Commit Messages
Coming up with proper commit messages can be a hassle, and is almost a waste of time for most developers. Writing descriptive commit messages that follow company convention In a world where AI is quickly gaining ground, GitLens brings you a feature that uses AI to generate commit messages for your staged changes automatically.
You can access the AI-generated commit messages feature by opening up the VS Code command palette (Ctrl + Shift + P), and running the GitLens: Generate Commit Message (Experimental) command. By providing an access token or key from your AI provider, you permit GitLens to send the diff of your staged changes to said AI provider. The commit message generated is entered into the commit input box in the Source Control sidebar.
Streamline Workflows with GitLens
We’ve seen a few GitLens features that hopefully help you streamline your workflow, thus significantly enhancing your productivity. By leveraging its powerful features such as code annotations, the Commit Graph, Visual File History, Focus View, and so much more, you can gain deeper insights into your codebase with ease.
Throughout this article, we’ve explored various strategies for maximizing GitLens’s benefits, but there is so much more that GitLens can do. To learn more about how GitLens empowers you to navigate codebases with ease, you can always check out the GitLens Features page to see more capabilities you can unlock.


