Before you perform actions on your branches in your Git repository, it’s important to know which branch you’re targeting. If you aren’t using the GitKraken Git GUI to visualize your work, it’s likely you won’t be able to remember the names of each local branch, especially in a large Git repository.
First let’s show how easy it is to review your branch list in GitKraken, and then we’ll show an example in the command line.
The CLI doesn’t give you the level of visibility offered by GitKraken. Get immediate context of your remotes, including remote branches and forks, and see who is making changes to which files.
How do you see your Git branch list in GitKraken?
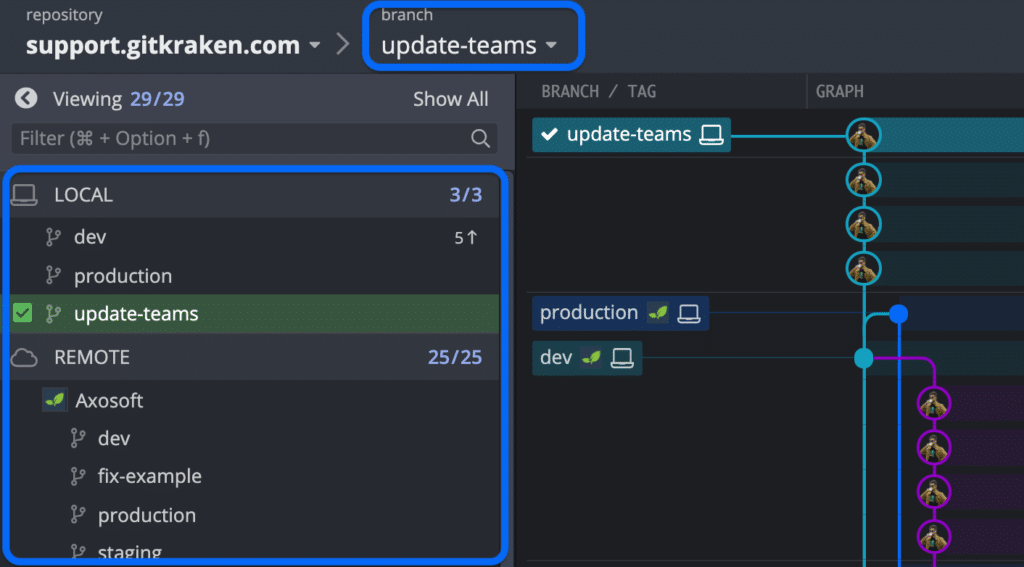
When you open your Git repository in GitKraken, the left panel will organize your local and remote branches and show you which branch is checked out.

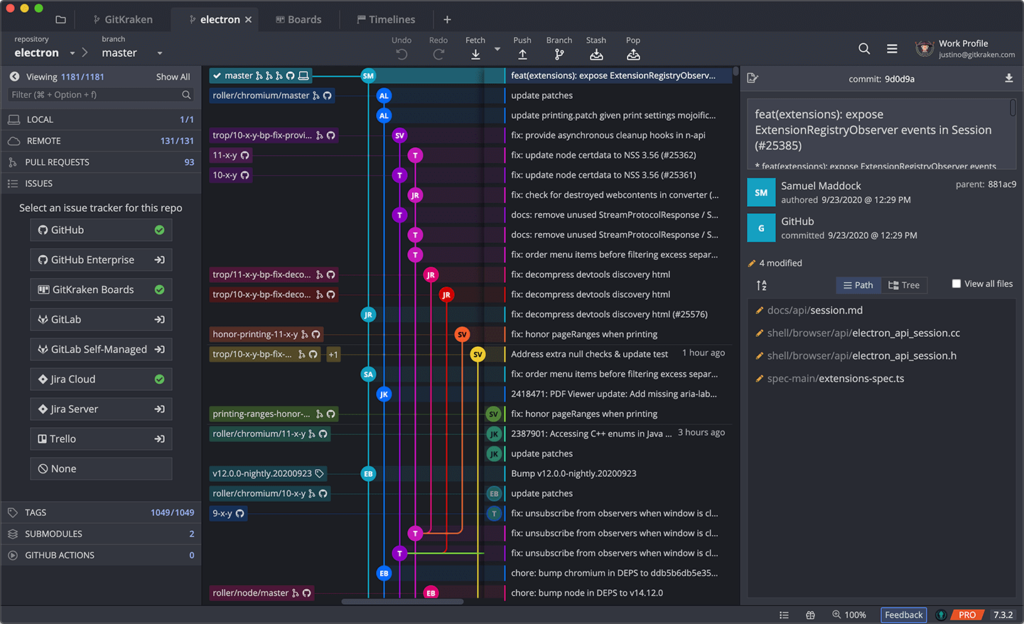
Additionally, the branches are visually displayed in the graph, giving you a quick idea of who has made what changes and when.
Double click on any branch name in the left panel or the graph to checkout the Git branch. You can even double click on a remote branch and GitKraken will both create the local version of that branch and then check it out for you. Magically convenient. ✨
Getting a visual on your remotes gives you a fast, quick preview into what your collaborators are working on and confirms whether any of your local branches are behind.
GitKraken’s easy-to-read commit graph will enable you to visualize branch structure and commit history like you never thought possible, empowering beginners and advanced users alike to level up your Git workflow.
How do you view your Git branch list in the command line?
While not as visual as GitKraken, you can still get information about your branches by running commands in the CLI.
To view a list of your local Git branches, you can run
git branchat any point during your workflow.

To view a list of your remote Git branches, you can run
git branch -r when working with remote branches in your Git repository.


