In Git, tags are references that point to a specific point in time, and are commonly used to identify release versions of your code.
We’re going to go over how to checkout a Git tag using the cross-platform GitKraken Git client before walking you through how to checkout a tag in the CLI.
How do you checkout a tag with GitKraken?
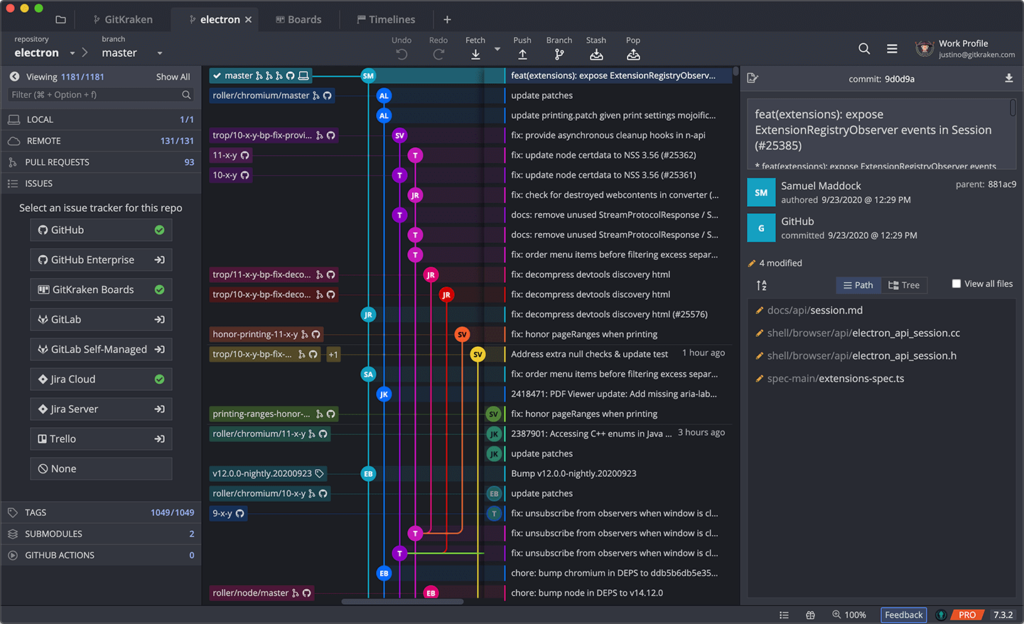
In GitKraken, you have immediate visibility to see all of the tags in your repository, listed clearly in the left panel of the main UI. You can also filter and search tags from this location, which can be especially convenient for large repos.
To checkout a tag in GitKraken, simply right-click a tag from the central graph, where tags are denoted with a 🏷 tag icon. From here, you can select Checkout this commit to checkout the tag in a detached head state.
Checkout a tag as a commit or branch in just 2 clicks with GitKraken.
How do you checkout a tag as a branch with GitKraken?
To checkout a Git tag as a branch in GitKraken, right-click a tag from the left panel or central graph and select Create branch here from the context menu.
Quickly identify and checkout tags with more confidence using GitKraken.
How do you checkout a Git tag in the terminal?
If you’re using the command line, you won’t be able to see a list of your tags neatly lined up on the left of your UI, like you can in GitKraken. To see which tags exist in your Git repository, you can run the git tag command to view a list of your Git tags.
From here, you can checkout a tag in a detached head state or as a branch. Let’s start with how to checkout a Git tag in a detached head state. This can be accomplished with the following:
git checkout <tag name>How do you checkout a Git tag as a branch in the terminal?
Alternatively, you can checkout a Git tag as a branch with the following:
git checkout -b <branch name> <tag name>Checking out tags using the legendary GitKraken Git GUI is seamless and intuitive, and gives you more control over your workflow. Download for free today.
 GitKraken MCP
 GitKraken Insights
 Dev Team Automations
 AI & Security Controls


